
Wood Fire Hot Tub
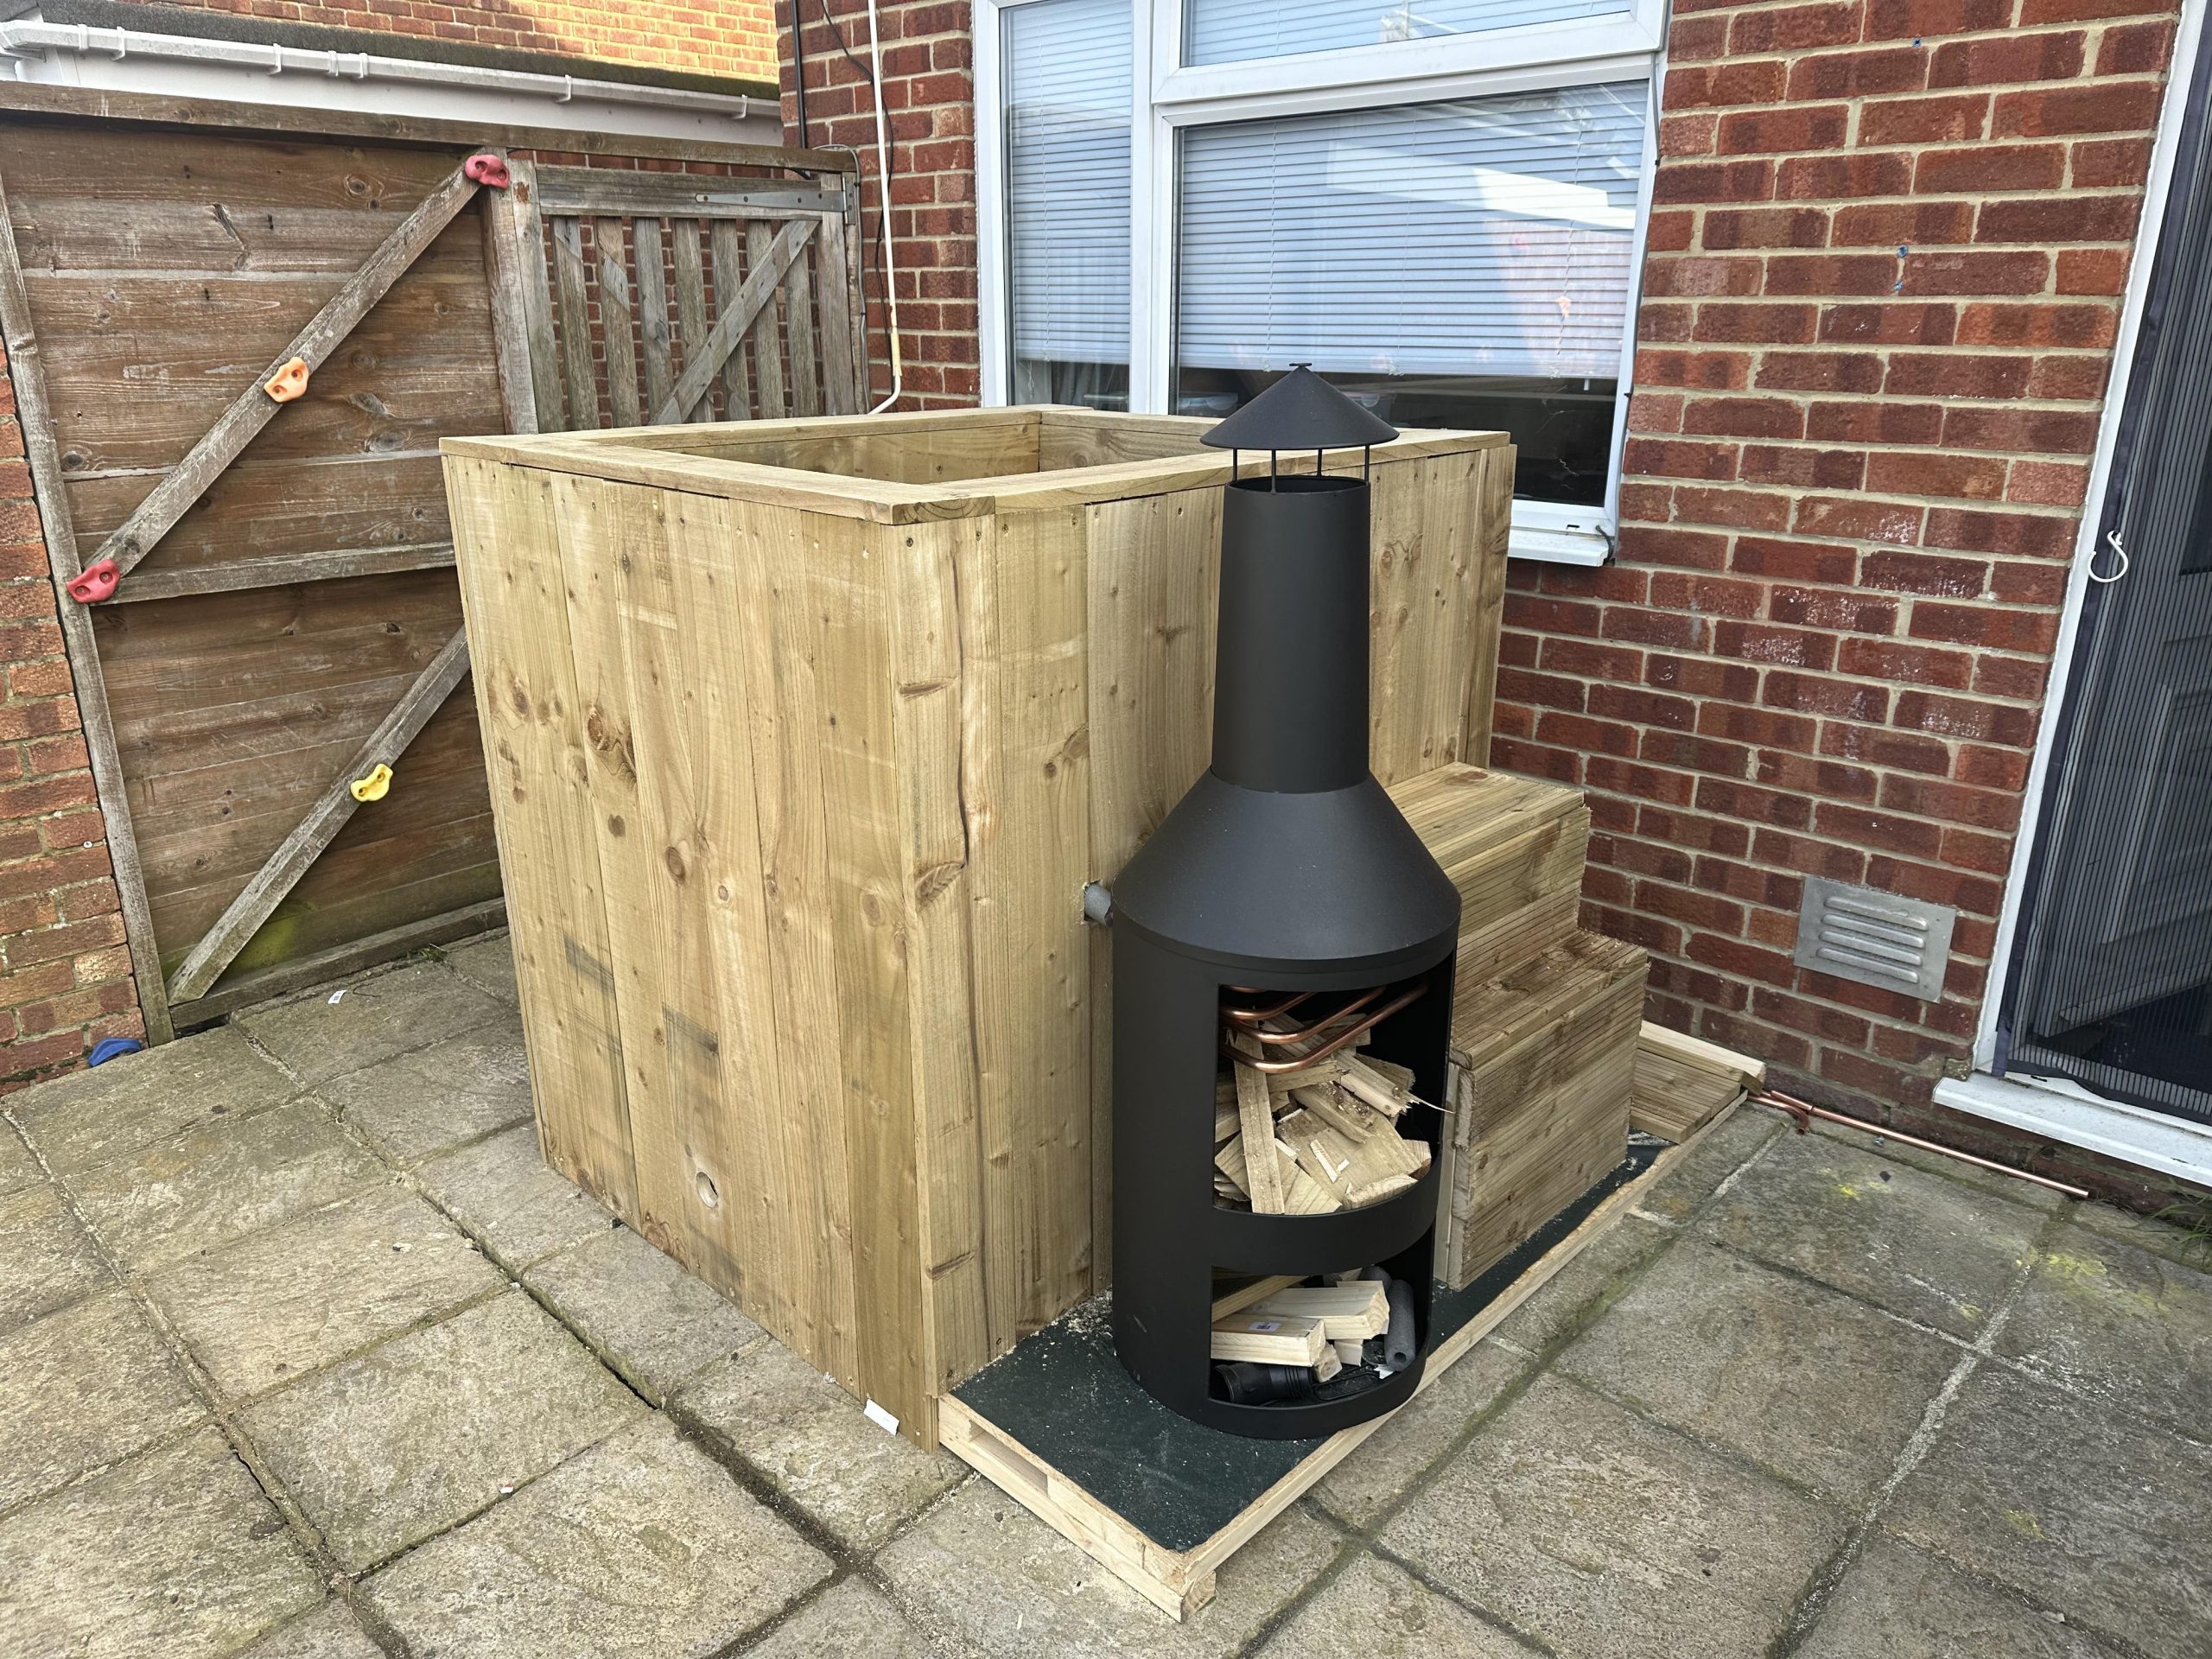
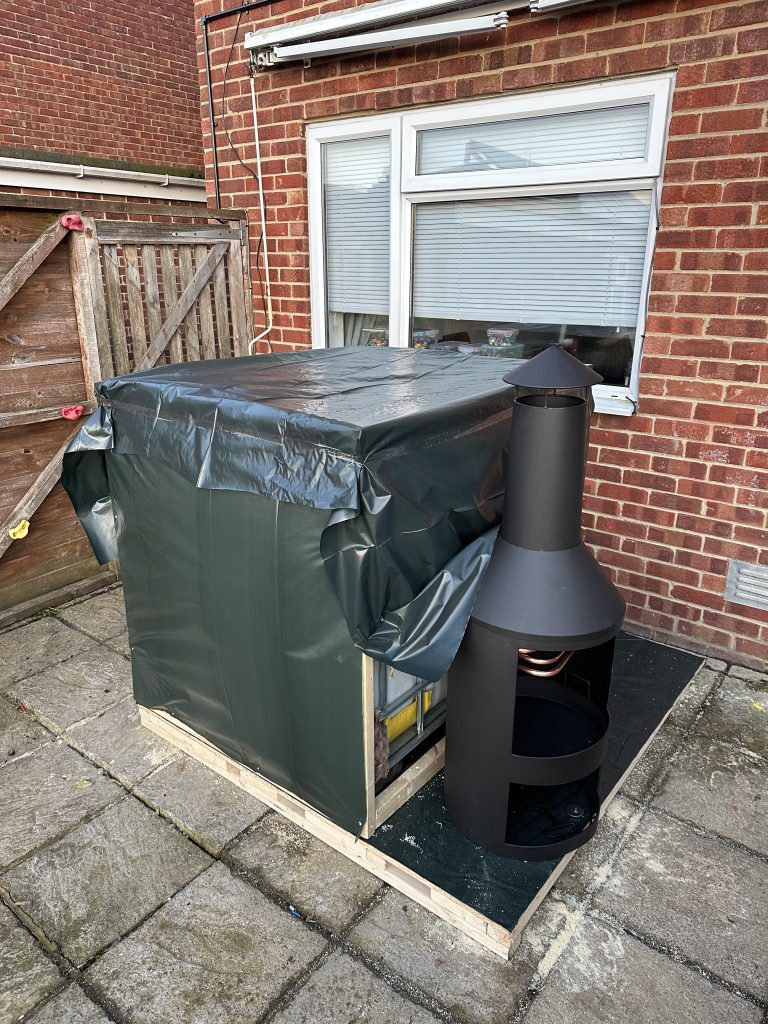
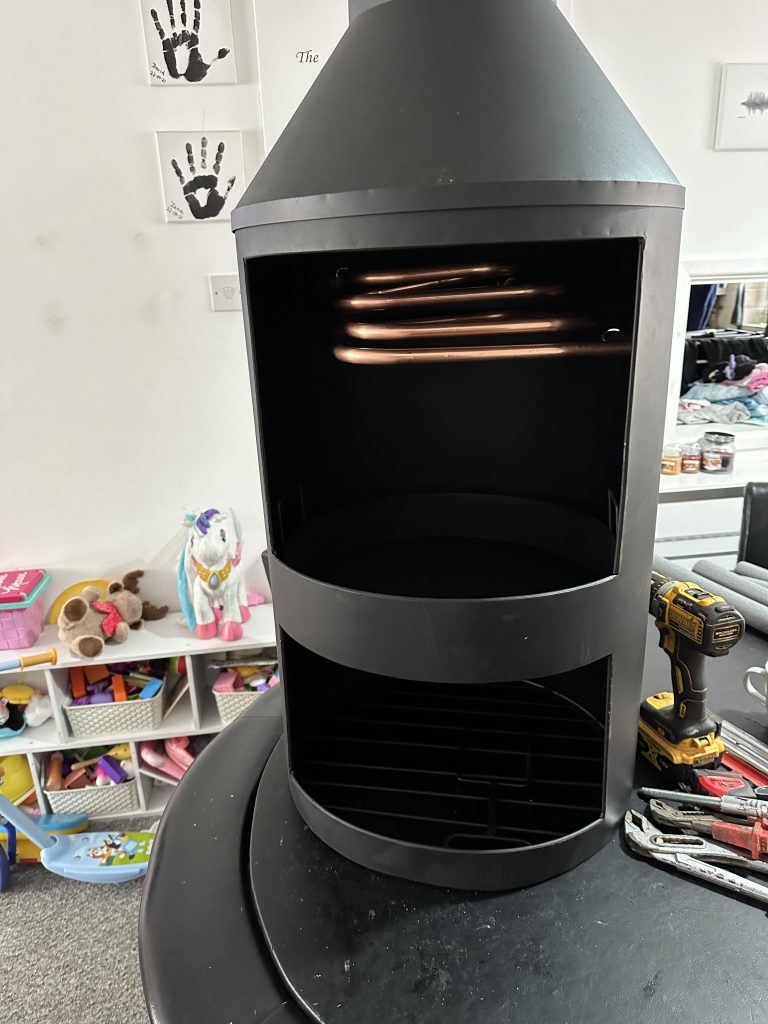
We started our Wood Fire Hot Tub build by purchasing a second hand 1000 Litre water tank and building a wooden frame around it, Then placing loft insulation between the tank and the wood. We wrapped copper pipe in a square coil inside a wood burner and ran that through a water pump and a water filter. The water pump is not needed as the heating of the water will pull it up through the pipework but we added a low power water pump to speed up the heating process. We built a simple lid from chipboard covered in polythene and then coated with faux leather.
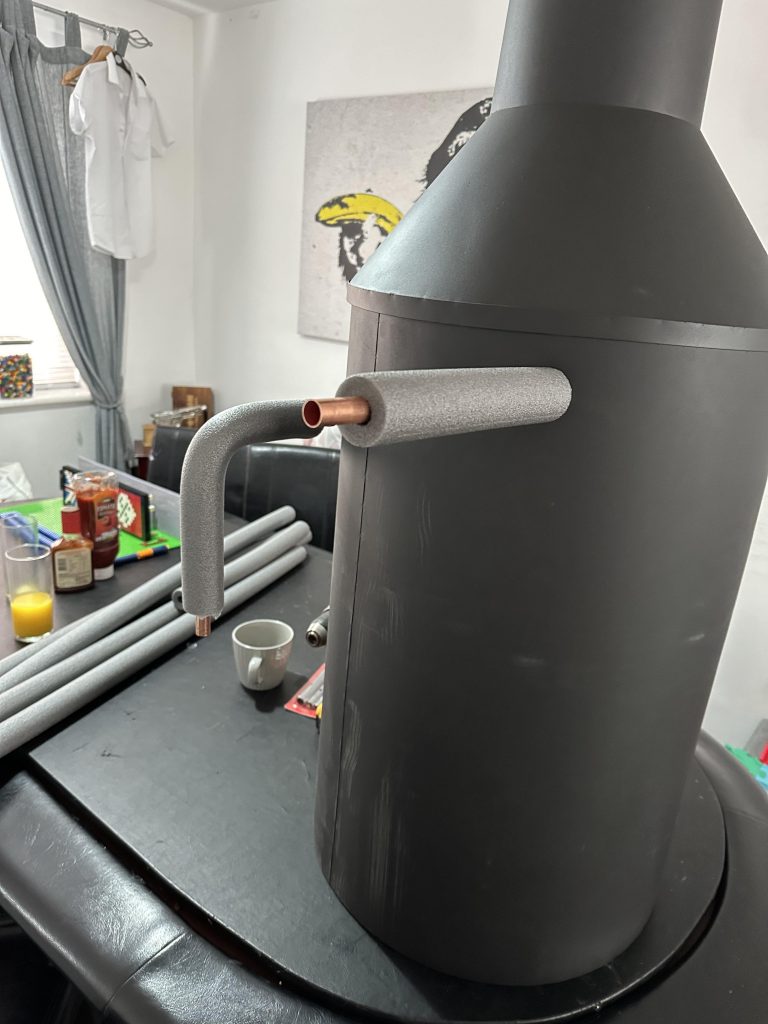
The wood fire burner was under one hundred pounds and it only took a couple of small holes to run the solid 15mm copper pipe through and into the tub. It worked out well with the height of the flue as the smoke will keep pests such as mosquitos away.
The total time to build the wood fire hot tub was two days and was ready to go. We also decided not to paint the tub as we preferred the raw wood look. We opted for an exterior water filter and a 12v camping water pump. Things you will need to consider when building one for yourself are…
- Selecting Materials:
- Tub Material: You’ll need a large, watertight container to hold the water. Cedar or redwood are popular choices due to their resistance to decay and ability to withstand outdoor conditions. Alternatively, you can use a stock tank or a fiberglass tub.
- Heating System: For a wood-fired hot tub, you’ll need a wood stove or a coil system that can be placed inside the tub to heat the water. You can purchase a pre-made stove or design your own.
- Site Selection:
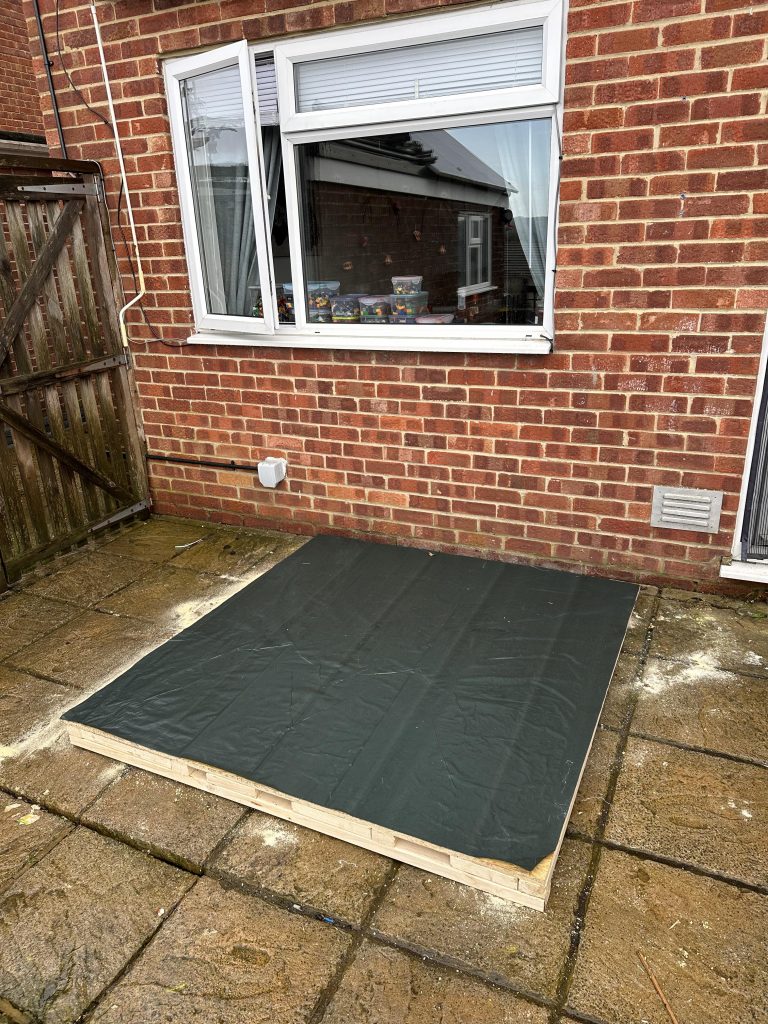
- Choose a level area for your hot tub, preferably close to a water source for filling and cleaning. Make sure the ground is stable and can support the weight of the tub when filled with water.
- Building the Tub:
- If you’re using wood, construct a frame to support the tub. Ensure it’s sturdy and level.
- Install the tub liner securely within the frame, ensuring it’s watertight.
- Drill holes in the tub for drainage and overflow, if necessary.
- Installing the Heating System:
- If using a wood stove, place it adjacent to the tub. Ensure it’s at a safe distance to prevent accidental burns.
- Connect the stove to the tub with a pipe or coil system that allows water to circulate and heat up. This can be a DIY project or purchased separately.
- Create an access point for loading wood into the stove and for cleaning out ash.
- Filling and Testing:
- Fill the tub with water, ensuring it doesn’t overflow.
- Light a fire in the stove and allow it to heat the water. Monitor the temperature closely to prevent overheating.
- Adding Accessories (Optional):
- Install benches or seating inside the tub for comfort.
- Consider adding a cover to retain heat when the tub is not in use.
- You can also add a filtration system to keep the water clean for longer periods.
- Maintenance:
- Regularly clean the tub to prevent algae and bacteria buildup.
- Check for leaks or damage to the tub and heating system.
- Monitor water quality and adjust chemical levels as needed.
- Safety Precautions:
- Ensure proper ventilation around the wood stove to prevent carbon monoxide buildup.
- Keep a fire extinguisher nearby in case of emergencies.
- Never leave the fire unattended, especially when children or pets are around.
Building a wood-fired hot tub requires careful planning and attention to detail, but the end result is a relaxing retreat that can be enjoyed for years to come. Make sure to follow local regulations and safety guidelines throughout the construction process.
Leave a Reply